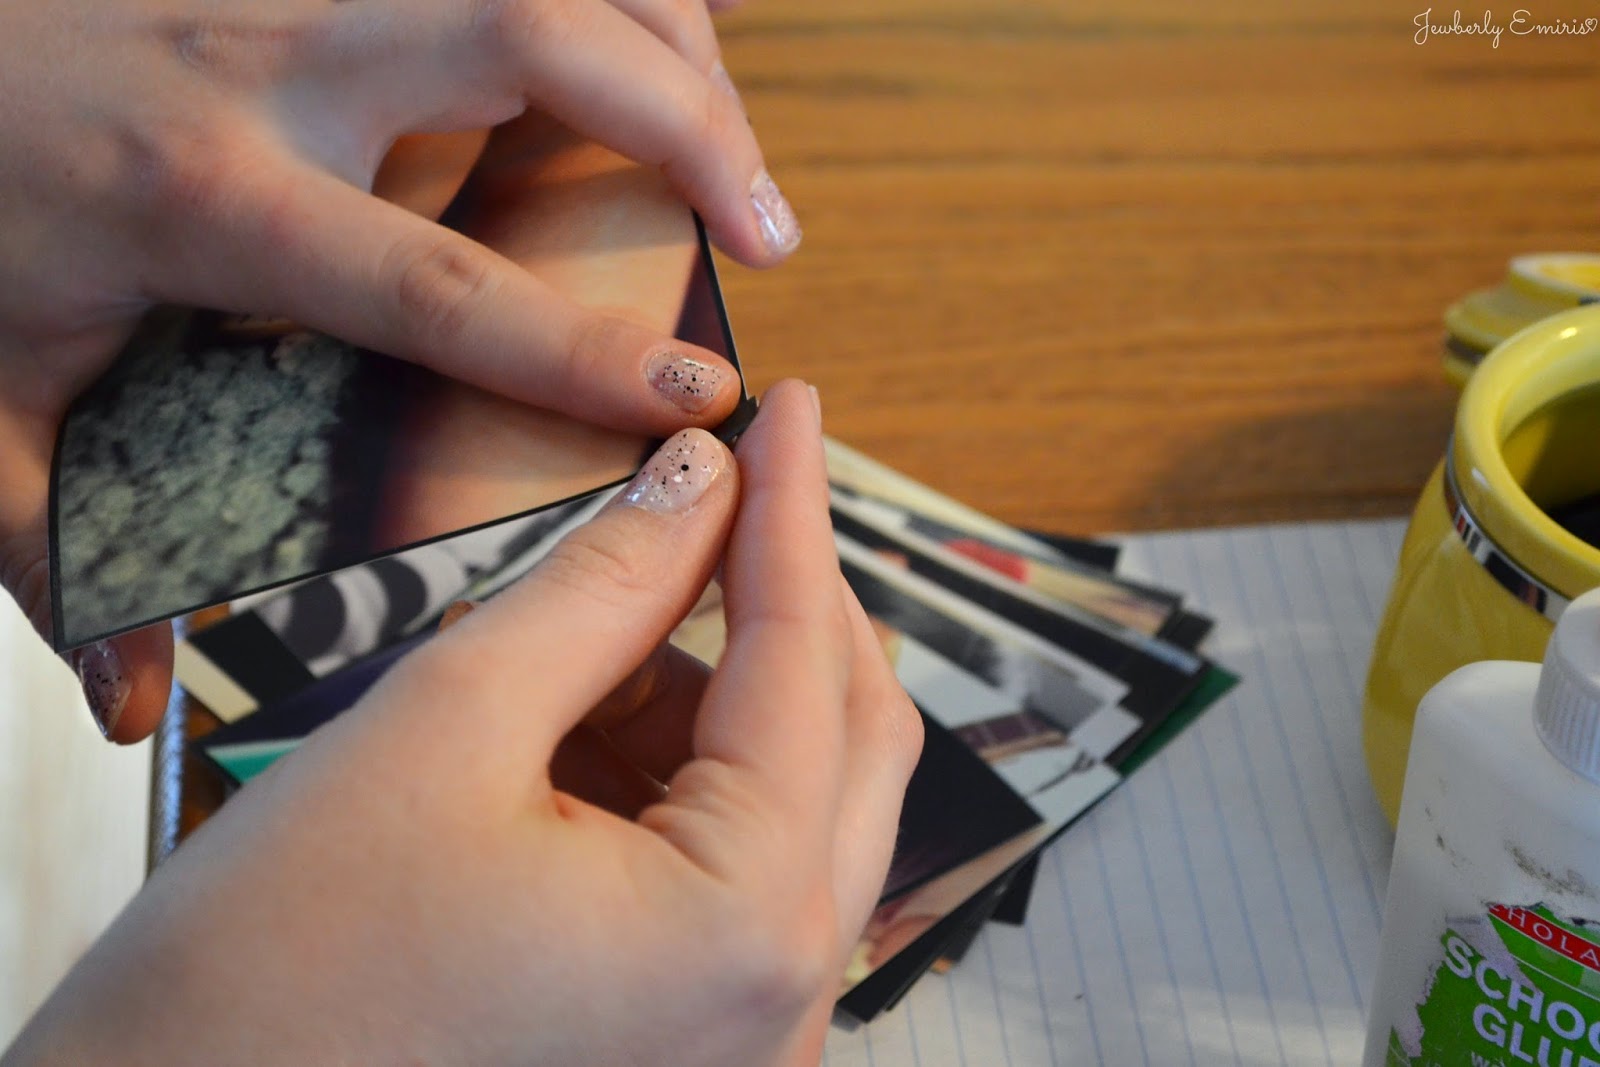
Today I'm going to show you a project that's easily adaptable for anybody. It's not really a tutorial...but kind of. It's more of a "Try This!", or "You ever thought of doing that?"! Kind of post. :) Anyhew...
The first step was removing the photo corners. A lot were made to fit 3x3 and wallet size photos. The glue was old so some had already fallen between the pages and many just needed a little bit of a push. What I did was us my nail and slowly "saw" at the glue. (When you just grab under the corner and pull it tends to bend and start to rip the photo corner itself)
Just a tip: If you are looking for somewhere to buy vintage looking photo corners I would suggest looking at thrift stores for an album.
There's two different ways to organize and put your photo corners on.
Way 1: Pre-Done
Cut out two pieces of a heavy paper (card stock, etc.) to the dimensions of your photos (Mine are 4x4), put a photo corner on each corner, add some glue than firmly press onto the album. Place a book on top of the photo corners. Wait 3-5 minutes. Add photos and done!
Way 2: As You Go
Take a photo. Place a photo corner onto each corner. Glue ONLY the photo corners, try not to get any on the photo. Firmly press the corners onto the album. Place a book on top of the photo. Wait 3-5 minutes. Done!
Add a sticker,
Write a little something about the photo,
Use your Instagram caption,
A funny quote,
Or use a stamp!


No comments:
Post a Comment