COME VISIT OUR NEW ONLINE HOME!

Come visit us on our new Jewberly Emiris blog home!

All new content is over on www.jewberlyemiris.com

Thursday, July 18, 2013

Chocolate Cupcakes!!

Okay, I'm going to take a moment here and brag on my sister Kimberly:
She makes some of the BEST chocolate cupcakes ever; you cannot have just one!
Unless, of course, you have amazing self control...which... I don't.


She adds Ghirardelli milk chocolate chips...maybe this is why I love them so much.
 
 
(Shh! Don't tell anyone but I ate a few chips before she chopped them!)


Jealous yet??


They looked (and tasted amazing); so perfect with a cup/mug/glass/tumbler/jar/straight-from-the-jug (whichever you prefer) of milk.

 
The delightful cup of cakey goodness deserved it's very own photo shoot.
 
 
(The white chair was a $3 Goodwill find. Our youngest sister TaMera found it and bought it; a thrifter in the making!)
 
 
I started out with the white tea cup (below) but didn't like how the milk seemed to blend in. In the end, I used the green mug but it still deserved an honorary mention!


-'- Jewel


Wednesday, July 17, 2013

DIY Bleach Shorts

DIY Bleach Shorts
What you need: 
  • Denim shorts (jeans)
  • Bleach
  • Washer & Dryer
  • Plastic Kitchen Bag
  • Gloves
Our little sister TaMera needed another pair of shorts. She loves the bleached look that is popular right now. Most pair we've seen in stores are either too expensive, too short or both! We decided to do it ourselves.

We found these somewhat homely shorts at Goodwill for a dollar.

Lay the shorts on a plastic kitchen bag in a well ventilated area, preferably outdoors. (We did it on our pink picnic table. What?? We're an all-girl family!) 

Because you'll be working with bleach, we recommend wearing gloves.


Pour bleach into cap until full, this is just about the perfect amount to work with at a time.


Pour/sprinkle it onto desired area, some pressing into fabric may be necessary until the bleach soaks in.


Continue as needed until desired look is achieved.


Repeat on opposite side.


When you have the look you want, place shorts into the dryer to help the bleach to set quickly. And doesn't eat at the fabric from air drying.

 (It took 20-30 minutes for us but it could be a shorter time...we kinda forgot they were in there!) 

We put the shorts with a couple of old towels to make sure the bleach didn't get onto the sides and ruin the next load. Not sure if it would anyway but that is what our Mom said to do. It's her dryer, we did as she said ;)

When the shorts are done drying, check to see if you have the look you want. If there are areas lacking in bleached-ness, (there were on ours) bleach and dry as needed.


 Curious to see the back pockets? Stay tuned for our next blog post!
 
~ Kimberly

Wednesday, July 10, 2013

We love shopping. End of story.

Kimberly:
Yellow.
 
I have a bit of a yellow obsession right now so not surprisingly...
 
 
I snatched up three yellow potholders for $2.00
 
 
Three vintage Pyrex bowls...
 
 
The largest one ($4.99) being completely yellow! *happiness*
 
 
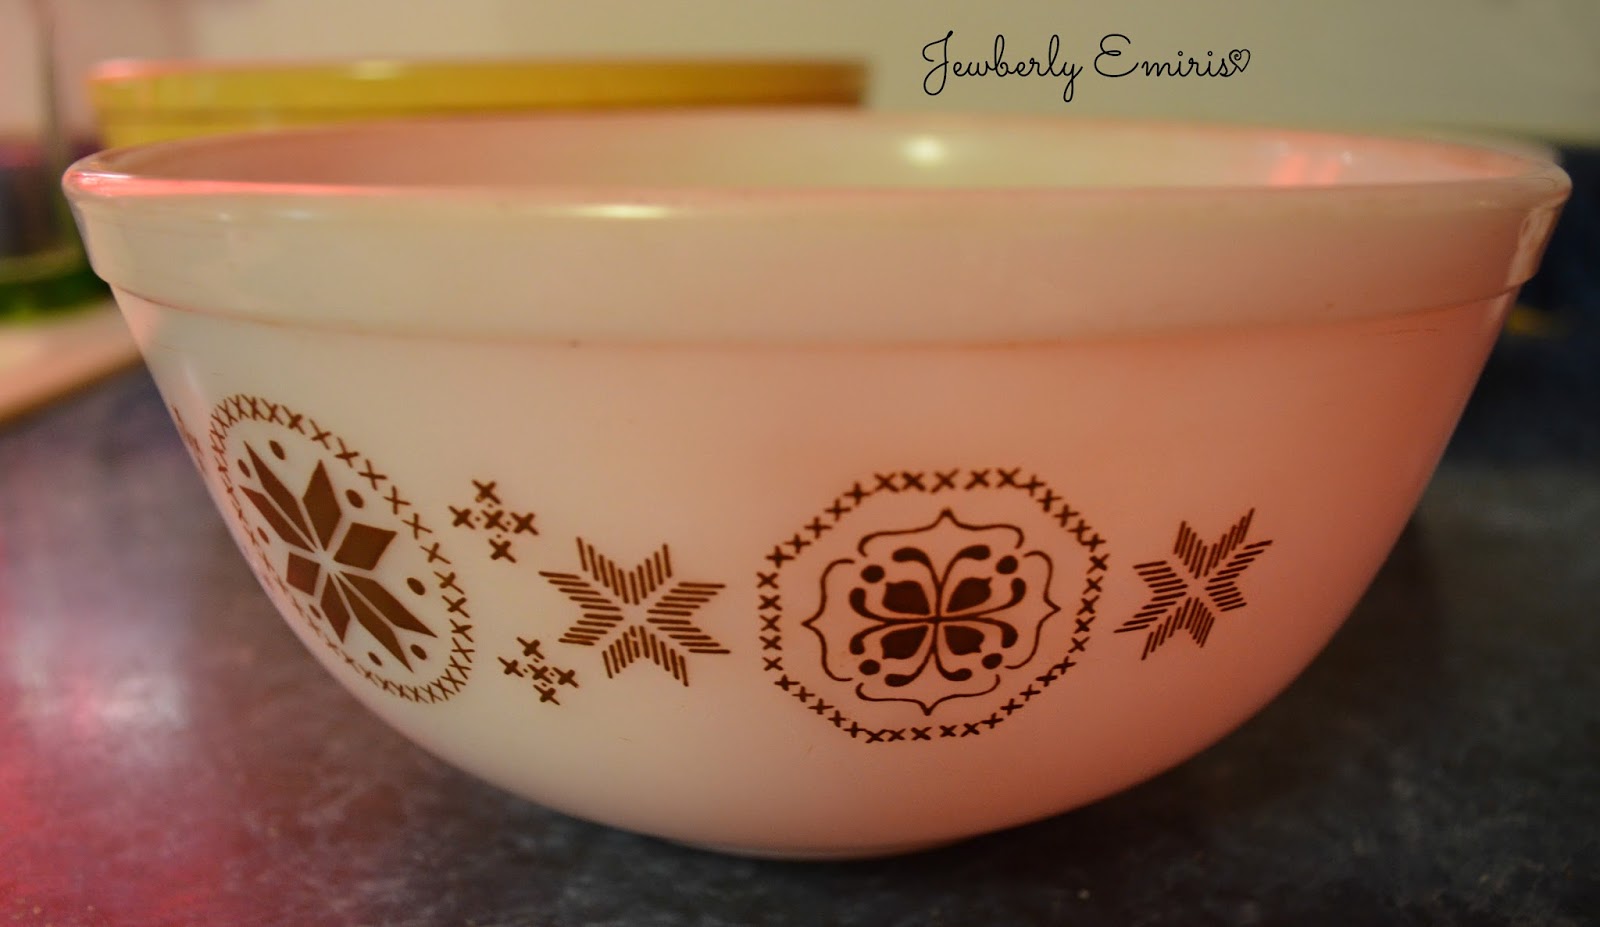
The medium sized bowl with brown accents (well, everything can't be yellow) was $3.99.
 
 
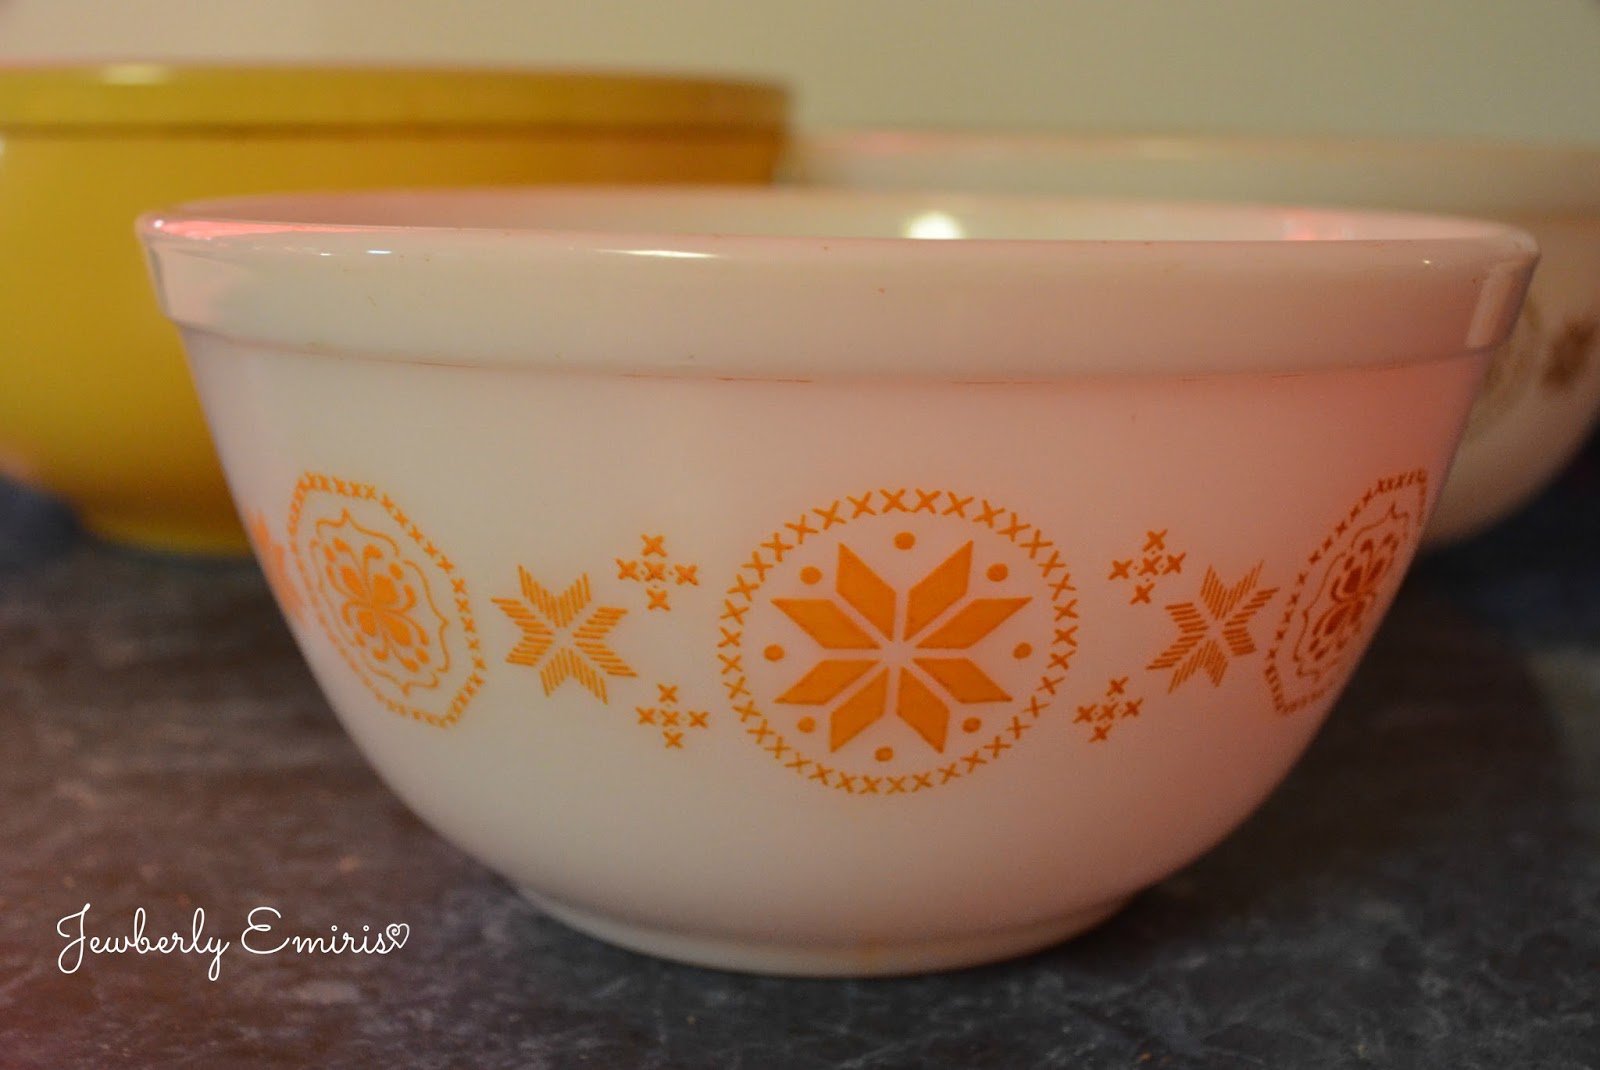
And the smallest bowl with yellow-orange (orallo? yellange?) designs was just $2.99!
 
 
Since the Tupperware set I bought a few years ago is a gorgeous cherry-red, I've decided a yellow and red kitchen with sky blue walls/accents is the way to go. Hence, the vintage biscuit cutter with a red handle. (Being $0.99 helped it's case too.)
 
 
And finally! A seemingly ordinary $9.00 lunchbox. Not so. This lunchbox (minus the thermos it came with originally) is identical to the one our Dad has loyally brought to work nearly every day for over 25 years. (This father of our's has only recently stopped bringing *only* peanut-butter-and-grape-jelly sandwiches. He has graduated to things like "peanut butter and honey" or "ham, cheese, spicy mustard and spinach". *sigh* They grow up so fast.)
________________________________________________________________________________
 
Jewel:
I love the idea of modern/retro house decor and ideally, my "cooking space" will be white, red and mint/seafoam.
 
 
In the middle of an antique store, Kimmie jerks me to another aisle, puts this milk bottle in my hand insisting it's "so me!" She knows me well... I couldn't put it back. I rationalized that it goes perfectly with what I want in my kitchen!
 
 
I love the idea of having some open shelving in my kitchen and could totally see this sitting smack dab in the middle of one. Maybe right next to a glass butter churn...


My other buy was a "Betty Crocker Cookbook". Not just any BCC; THE Betty Crocker Cookbook.
 
Let me explain.

Our Mom (in high school) got a special anniversary Betty Crocker Cookbook (1979ish?) and we have loved the recipes in it For. Ev. Er.
 
Many years later our oldest sister (Samantha) found one in a Goodwill, Kimberly found one in an antique store and now I have also. We just have to find two more for our other two sisters!
 
 
The way you know if it's the same version of Mom's cookbook is Page 47. There is a recipe for "Sweet Muffins"...best muffins ever.
 
I also bought a Betty Crocker Outdoor Cookbook for my sister's Tiffany birthday. She doesn't cook much but she loves grilling so hey! 
 
___________________________________________________________________________________


Our little sis TaMera came along with us and found this adorable little cast iron stove miniature. I can see many dinners being made for us in the future... ;)


______________________________________________________________________________


Two more books for our library of vintage books!
 
"Runaway Alice" was a sweet story and the book itself was $1.00. "The Secret Cave" we owned already but after 20+ years of being read and loved by us, it was in less-than-stellar condition. Not to mention several pages were missing. $1.25!
 
 
"The Secret Cave" is one of my favorites!
 
 
*None of these items are for sale*
 

Monday, July 01, 2013

3 "Big" jobs we did in Texas at our sister's!

1. - Brick By Brick

At our oldest sister's house there was a LOT of bricks laying around left over from building the house (though it was built in the 90s) we decided to put those to good use! ...and get them out of the way. :)


We started clearing the area where we wanted the bricks to be...


Laid the fabric down, laid some bricks and dug in little increments because we had a limited number of bricks...


We thought it was going to be really disappointing because we ran out of bricks. Then we found a pile of brand-new bricks in a corner of the garage!


Didn't turn out so bad after all...


2. - Rockin' Out

With the dirt we dug out to level the brick walk, we built up dirt to the house to create a bit of drainage for water. Laid down more fabric and put down rocks.


Ta da!


Above: How we connected the rocks to the brick "path"

3. - Cedar Catastrophe


We took out two dead cedar trees, some oddly placed over-grown bushes [trees?] and trimmed all the others. It looks a little bare after but with some grass seed, maybe a hammock, one of those reflective garden spheres? It'll fit right in their suburban Austin neighborhood!


Before...


During...


And DONE!
That is some of what we did while visiting our sister! I still can't believe we did it all in 4, ninety-seven degree days! Now we did do a few little 'odd' jobs...but who really wants to hear about fixing the washer, raking the yard and hanging laundry room doors straight?? ;)
Till next time, peeps!

~J

Come visit us on our new Jewberly Emiris blog home!

All new content is over on www.jewberlyemiris.com

Blog design by Simply Saluma Designs